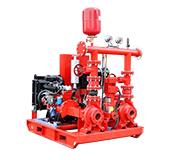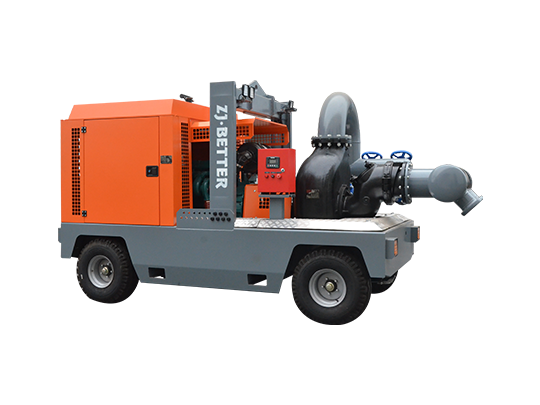
The above is the order of disassembling the fire pump, and the installation of each part of the fire pump is to operate in reverse according to the above order. Understand the disassembly and assembly sequence of the self-priming pump clearly. When encountering simple problems, we can deal with them by ourselves. After the self-priming pump is repaired, the following checks should be made:
1. Check whether the motor is leaking and whether the pump head rotates normally
The inspection of pump head tightness can be carried out according to the method of "blowing, blocking and pressing". "Blowing" is to block the suction port of the pump head filled with water with your hands, then hold the water outlet with your mouth, and blow air into the pump vigorously to see if there is any air leakage in the pump head. If there is an air leak, it indicates that the seal is not good. "Blocking" is to check the water absorption capacity of the self-priming pump. Block the suction port of the pump head filled with water with your hand, start the motor, your hand will feel sucked, and the more you suck it, the tighter it is. The sucked hand can drag the self-priming pump, and at this time, it is judged that the pumping force of the pump is normal. If the suction is not strong enough, the reason is that the gap between the copper impeller and the pump body is too large. At this time, it is necessary to disassemble the copper impeller cover of the pump casing, loosen the two stop screws on the copper impeller, and then knock the copper impeller into the pump body a little. It is best to control the gap between the copper impeller and the pump body at 10 wires (1mm). . "Press" is to press and hold the water outlet of the pump head filled with water, and then start the motor, the hand will feel pressure, and then focus on checking whether there is water leakage at the water outlet gasket of the pump head, the copper impeller cover gasket of the pump casing, and the dynamic and static seals .


