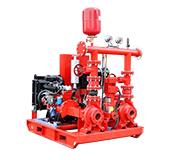
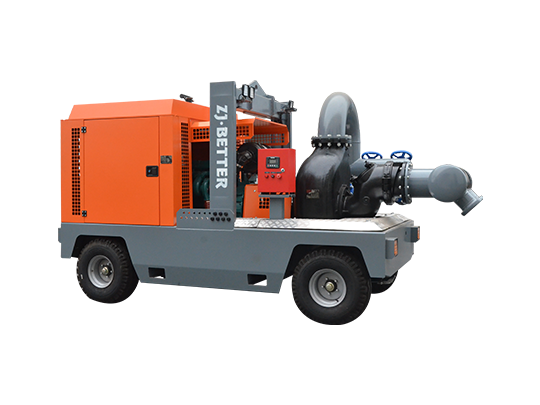
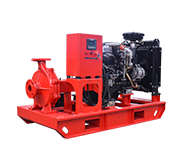
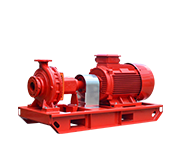
The deep well fire pump unit is composed of multiple centrifugal impellers, guide casings, water pipes, transmission shafts, pump seats, motors and other components. The pump base and the motor are located above the pool, and the power of the motor is transmitted to the impeller shaft through the drive shaft concentric with the lift pipe, thereby generating flow and pressure. Many customers don't know how to install deep well fire pump, the following are some steps:
1. Acceptance of deep well submersible pump: When the user picks up the goods at the logistics company, he must carefully check the acceptance to see if the cable sheath is damaged. Whether the water pump is broken.
2. Loading and unloading: Be careful when loading and unloading the truck, so as not to damage the concentricity of the unit or break the cable insulation.

3. Inspection steps before the whole unit goes into the well: A. Disassemble the filter screen, use the crowbar to move the coupling to rotate flexibly, B. Put the electric pump vertically and fill it with clean water, connect the cable joints, soak the joints with a water basin, The ground resistance of the shaking test joint (the insulation resistance of a single finger joint to water) is not less than 500 megohms. C. Put the water pump upright and use a suitable container to add washing powder water to the outlet of the pump. At the same time, slightly move the motor start button to carefully observe the direction of the pump. The time should not exceed 2 seconds, and make a continuous mark.
4. On-site assembly steps when the pump is transported separately: A. Before installation, place the motor vertically, open the air hole and the water injection hole, pay attention to open both water plugs, fill up with clean water, and tighten the water injection plug and the water discharge plug , Observe whether the motor has water leakage. If there is water leakage, do not go down the well. The reason may be bumps during transportation. You should contact the agent or manufacturer in time to negotiate a solution until there is no leakage (observe for 10 to 15 minutes). Then measure the insulation resistance of the motor by shaking, and its value is not less than 50 megohms. B. Wrap up the cable joints. After wrapping them up, try the rotation of the motor. Whether the rotation of the motor is consistent with the direction of the arrow marked on the water pump, and make a continuous mark.
5. Inspection of the water pump when the deep well submersible pump is separated
A. Remove the upper casing of the water pump to expose the impeller on it. B. Turn the impeller by hand to see if it is flexible. C. Pull the impeller along the direction of the pump shaft to observe the total displacement of the impeller for seven times (generally QJ pump 4-6mm) D. Install The coupling and the motor are assembled together so that the shaft head of the motor and the shaft head of the water pump are tightly aligned and no gap is allowed. E. Look at the gap between the upper and lower displacement of the impeller, it should be in the middle of the total displacement (allowable deviation ±0.5mm). F. When the deviation is greater than 0.5 mm, use the adjusting shim to adjust to the middle position and turn the impeller flexibly by hand. G. Then drill the top screw hole of the coupling, tighten the top screw to install the upper shell. H. Use the pry bar again to move the coupling for one week, and it should be flexible to assemble. Then install the filter screen and wire protection box.
6. Deep well submersible pump going into the well: Before going down the well, use a rope to hang a log or steel pipe with the same length as the unit (the diameter is equal to the large outer diameter of the unit) to test whether the well pipe is upright. In order to avoid jamming the unit when going down the well.
(Especially when a new well is pumped for the first time, mines do not need this step).
7. Binding of cables: Cables should be bound to the water pipes with insulating cable ties instead of metal wires.
8. Control and start-up of the unit: selection of control equipment. Motor power × 1.2-1.4 times = control cabinet power. The control cabinet must have protection measures such as phase loss, overload, overcurrent and short circuit. After the downhole installation is completed, start the test machine. The start-up time is between 10-25 seconds according to the difference in motor power. The start-up time of high-power motors should be relatively long. Check whether the current is overloaded and whether the three-phase current is balanced, and make a record. And feedback to the manufacturer as the basis for warranty.
9. Overload, overcurrent, phase loss, short circuit, and sensitivity debugging: This step is very important, please installers to debug carefully.
A. Overload and overcurrent debugging: slowly turn the current adjustment knob of the thermal relay to a direction smaller than the actual working current, and rotate a little scale each time, with an interval of about 2-5 minutes, until the thermal relay action unit stops working. Then turn the scale a little in the opposite direction.
B. Phase loss sensitivity debugging: Start the unit again, and disconnect the safety tubes of the unit switch one by one, so that the unit is in a two-phase power working state. Observe whether the thermal relay can cut off the control power within 5 seconds.
C. Short-circuit test: This step is usually protected by the air switch of the power supply system. Generally no on-site test is required (more dangerous). It is required that the power supply system must be equipped with an air switch (air switch type DW10, followed by DZ type). The above 8 items should be carefully read and remembered by the installation and commissioning personnel of the unit, and the electromechanical maintenance personnel!


